
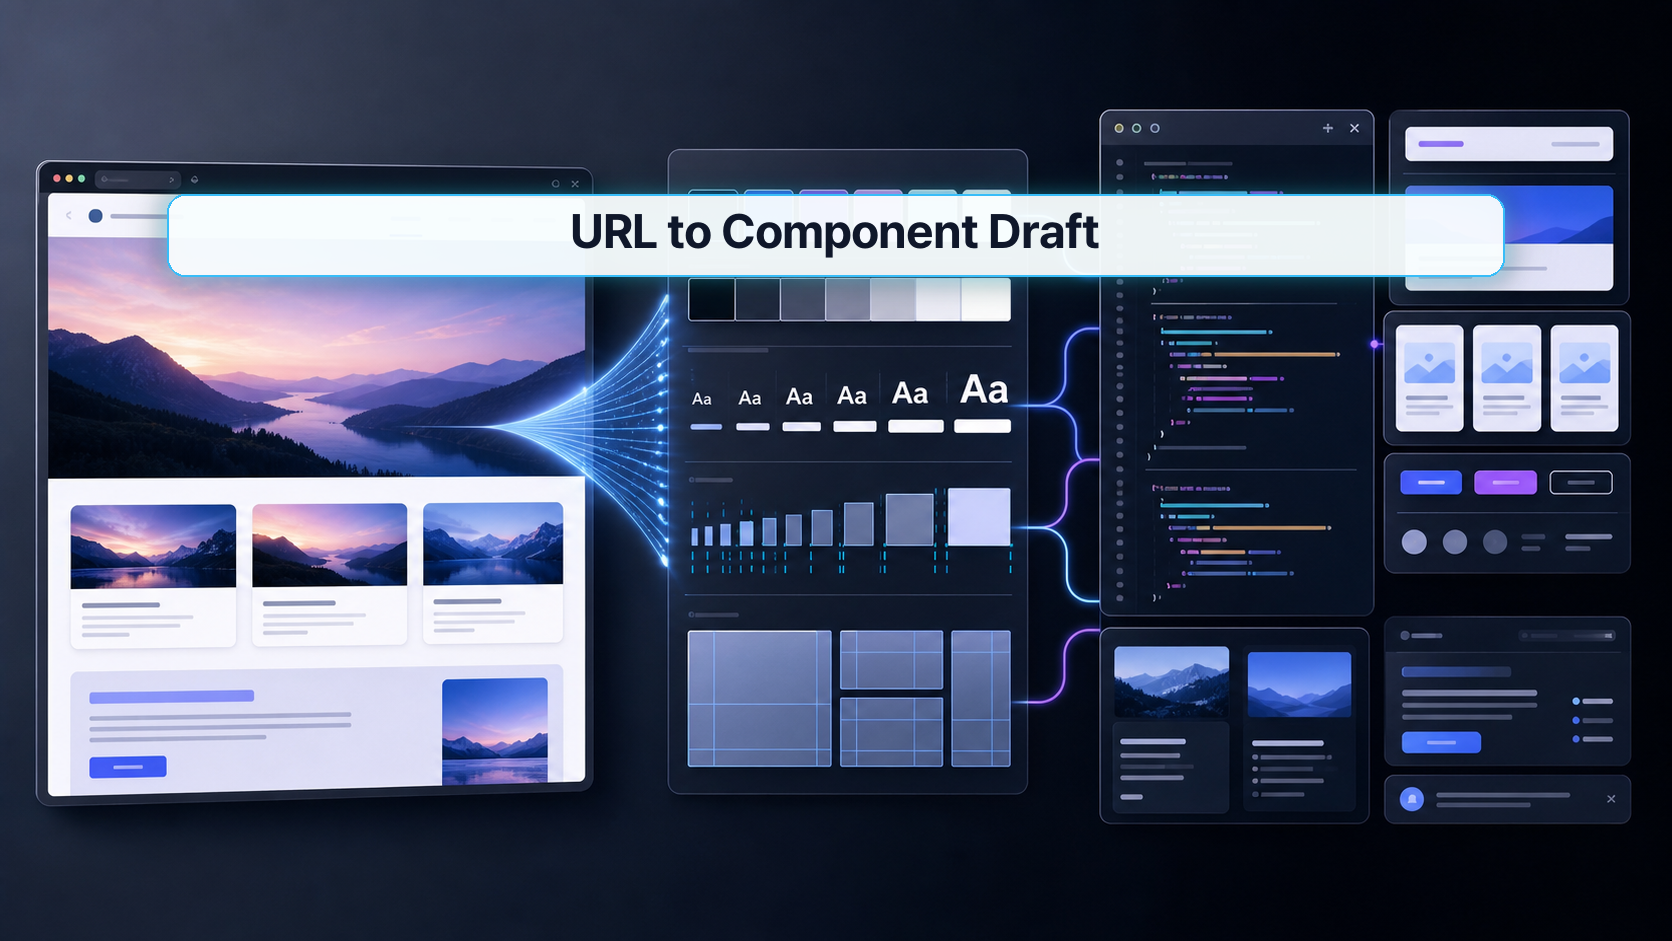
If you've ever stared at a landing page or dashboard and wished you could skip the "inspect, transcribe, rebuild" cycle — Claude Code's UI cloning workflow is the closest thing to skipping it entirely. This tutorial walks through how to feed Claude Code a URL, extract the visual design system (colors, fonts, spacing, layout structure), and land on component code you can actually modify — not a static screenshot, not a pixel-perfect copy that breaks the moment a designer changes something.
This is aimed at frontend developers and designers who already write components but want to cut the first-draft time dramatically.
1. Why this matters now
The classic handoff loop goes: designer exports a frame → developer inspects it in DevTools → developer rebuilds it from scratch → both parties spend two days aligning on spacing tokens. That loop exists because the artifact passed between designer and developer is visual, not structural.
What's changed recently is that Claude Code can now read a live URL as structured input — not a screenshot, but the actual DOM, computed styles, font references, and color values — and reason about them as a design system. The result isn't a description of what the page looks like. It's a working component draft with extractable tokens.
The real pain point this addresses is fidelity loss in translation. When a developer manually inspects a page and writes components, they make dozens of small decisions — rounding a hex value, guessing a spacing unit, choosing a breakpoint. Each decision is a small error that compounds. Claude Code eliminates most of those micro-decisions by reading the source directly.
This matters more now because component libraries have become the standard delivery format. A Figma frame is useful for review; a component file in your actual codebase is useful for shipping. The gap between those two artifacts is where this workflow lives.
2. The core idea
One sentence: Claude Code reads a URL as a design source and outputs structured component code, not a visual copy.
Think of the difference between a photocopierand atranscriptionist. A photocopier reproduces pixels. A transcriptionist reads meaning and reconstructs it in a new format. Claude Code is the transcriptionist — it reads the design intent (spacing rhythm, type scale, color palette) and re-expresses it in the idiom of your component framework.
Here's what Claude Code extracts from a target URL and what it maps to in code:
| Source signal | What Claude Code reads | Output in code |
|---|---|---|
| CSS custom properties | Token names + values | Design token file or theme.js |
| Computed font stack | Font family, weight, size | Typography tokens or Tailwind config |
| Layout structure | Flex/Grid patterns, nesting depth | Component tree skeleton |
| Color values | HEX/RGB/HSL + usage context | Color tokens with semantic names |
| Spacing rhythm | Padding/margin/gap distribution | Spacing scale |
| Interactive states | :hover, :focus CSS |
Variant props |
The key insight is that Claude Code doesn't try to replicate every pixel. It tries to reconstruct the system — then builds the component against that system. That's why the output is editable rather than fragile.
3. How to implement it
The workflow has three phases: capture, extract, generate. Each has a verification step before you move to the next.
Phase 1 — Point Claude Code at the target URL
Open Claude Code in your project directory and give it the source URL plus your target framework. Be specific about what you want extracted.
# Start Claude Code in your project root
claude

# Inside the Claude Code session, provide the URL and intent:
# "Read https://example.com/pricing and extract the card component.
# Output React + Tailwind. Include color tokens as CSS custom properties."
Claude Code will fetch the page, parse the computed styles, and return a summary of what it found before generating code. Read that summary — it tells you what the model is confident about and what it guessed.
Phase 2 — Extract the design tokens first
Before asking for full component code, ask Claude Code to output the design tokens separately. This is the most important verification gate in the whole workflow.
# Inside your Claude Code session:
# "Before generating the component, output the color palette,
# type scale, and spacing values you found as a JSON object."
Expected output structure:
{
  "colors": {
    "primary": "#1a1a2e",
    "accent": "#e94560",
    "surface": "#16213e",
    "text-primary": "#eaeaea",
    "text-muted": "#a8a8b3"
  },
  "typography": {
    "font-family-base": "'Inter', sans-serif",
    "font-size-sm": "0.875rem",
    "font-size-base": "1rem",
    "font-size-lg": "1.25rem",
    "font-weight-regular": "400",
    "font-weight-bold": "700"
  },
  "spacing": {
    "xs": "0.25rem",
    "sm": "0.5rem",
    "md": "1rem",
    "lg": "1.5rem",
    "xl": "2rem"
  }
}
Compare these values against what you see in DevTools. If a color is off, correct it in the JSON before proceeding — every component Claude Code generates downstream will reference these tokens.
Phase 3 — Generate the component
With tokens confirmed, ask for the component. Specify whether you want a single file or split into component + token imports.
# "Now generate the PricingCard component using the tokens above.
# Split into PricingCard.tsx and tokens.css.
# Use CSS custom properties for all color and spacing references."
Example output for a typical card component:
// PricingCard.tsx
import React from 'react';
import './tokens.css';

interface PricingCardProps {
  tier: string;
  price: string;
  features: string[];
  highlighted?: boolean;
}

export function PricingCard({
  tier,
  price,
  features,
  highlighted = false,
}: PricingCardProps) {
  return (
    <div
      className={`pricing-card ${highlighted ? 'pricing-card--highlighted' : ''}`}
    >
      <div className="pricing-card__header">
        <span className="pricing-card__tier">{tier}</span>
        <span className="pricing-card__price">{price}</span>
      </div>
      <ul className="pricing-card__features">
        {features.map((f) => (
          <li key={f}>{f}</li>
        ))}
      </ul>
    </div>
  );
}
/* tokens.css */
:root {
  --color-primary: #1a1a2e;
  --color-accent: #e94560;
  --color-surface: #16213e;
  --color-text-primary: #eaeaea;
  --color-text-muted: #a8a8b3;
  --spacing-sm: 0.5rem;
  --spacing-md: 1rem;
  --spacing-lg: 1.5rem;
  --font-family-base: 'Inter', sans-serif;
}

.pricing-card {
  background: var(--color-surface);
  color: var(--color-text-primary);
  padding: var(--spacing-lg);
  border-radius: 0.75rem;
  font-family: var(--font-family-base);
}

.pricing-card--highlighted {
  border: 2px solid var(--color-accent);
}
Verification step — visual diff
Render the component next to the original in a browser at the same viewport width. Use DevTools to inspect any spacing discrepancy larger than 4px or any color that looks noticeably off. That threshold matters: minor pixel drift is expected and acceptable; systematic drift (wrong font weight throughout, wrong spacing rhythm) means the token extraction phase had an error.
# Quick sanity check — count how many tokens reference the same value
grep -c "var(--" src/components/PricingCard/PricingCard.css
# Should be > 0 — if you see hardcoded hex values mixed in, the token split didn't work
4. What to watch in production
License and legal. Extracting design from a competitor's live site for your own product is a different matter than using it as a reference for internal tooling. Know where your URL is coming from and what terms of service apply.
Dynamic content and JavaScript-rendered pages. Claude Code fetches the URL, but if the target page requires JavaScript to render its final state (single-page apps, lazy-loaded CSS-in-JS), the extraction may read unstyled or partially styled markup. In that case, export a static HTML snapshot from DevTools first and pass that as a file instead of a live URL.
Token naming collisions. If your existing codebase already has a design token system (Tailwind config, Style Dictionary, Tokens Studio), the names Claude Code generates will likely conflict. Always run the token output through a rename pass before merging. Treat Claude Code's tokens as a discovery draft, not a drop-in.
Responsive breakpoints. Claude Code reads styles at whatever viewport the fetch resolves to — typically desktop. If you need mobile-first breakpoints, ask Claude Code explicitly: "Also extract the mobile layout at 375px." You may need to provide a mobile screenshot if the server-side render doesn't change based on user agent.
Framework differences across environments. The workflow above uses React + plain CSS. If you're on Vue, Svelte, or Angular, tell Claude Code the target framework up front — don't try to transpile the output afterward. Same goes for CSS frameworks: asking for Tailwind utilities versus CSS Modules is a different output, and retrofitting one to the other is tedious.
FAQ
When should I use Claude Code for UI cloning?
This workflow works best when you're rebuilding an existing interface in a new codebase, or when you want to create a reference implementation of a third-party component without copying files. It's also a solid starting point when a designer shares a live URL instead of a Figma file. The worst fit is when the target page is heavily animated or relies on runtime theming — Claude Code won't capture animation keyframes or runtime-calculated styles reliably.
What should I check before using this in production?
Three things. First, verify the token extraction output matches DevTools before you generate any components — a wrong token propagates everywhere. Second, check whether your target URL is publicly accessible without authentication; Claude Code can't log into a gated page. Third, confirm your framework and CSS strategy before starting the session — React/Tailwind and Vue/CSS Modules produce meaningfully different output, and it's faster to specify upfront than to correct halfway through.
What's the easiest way to verify the generated result?
Render the component at the same viewport width as the original, side by side in split-screen. Don't pixel-count — look for systematic mismatches: wrong font weight, wrong color temperature, spacing rhythm that feels different. Those indicate a token-level problem. Then run a quick grep for hardcoded values (hex codes, pixel values) in the generated CSS — if you find more than one or two, the token extraction didn't propagate correctly and you should re-run Phase 2.
Closing
Claude Code's URL-to-component workflow cuts the frontend translation loop down to a verification problem rather than a rebuilding problem — the hard work shifts from writing to auditing. Start with the token extraction phase and treat it as a required checkpoint, not an optional preview. The component code downstream is only as accurate as the design system you confirm in that step.
Next up: combining this workflow with an existing Style Dictionary setup so Claude Code's extracted tokens merge cleanly into your token pipeline instead of creating parallel systems.
🐦 Faster updates on X: @baegseungh7061
📚 More in this series: All posts
💌 Subscribe: Follow on X or grab the RSS
댓글
댓글 쓰기