
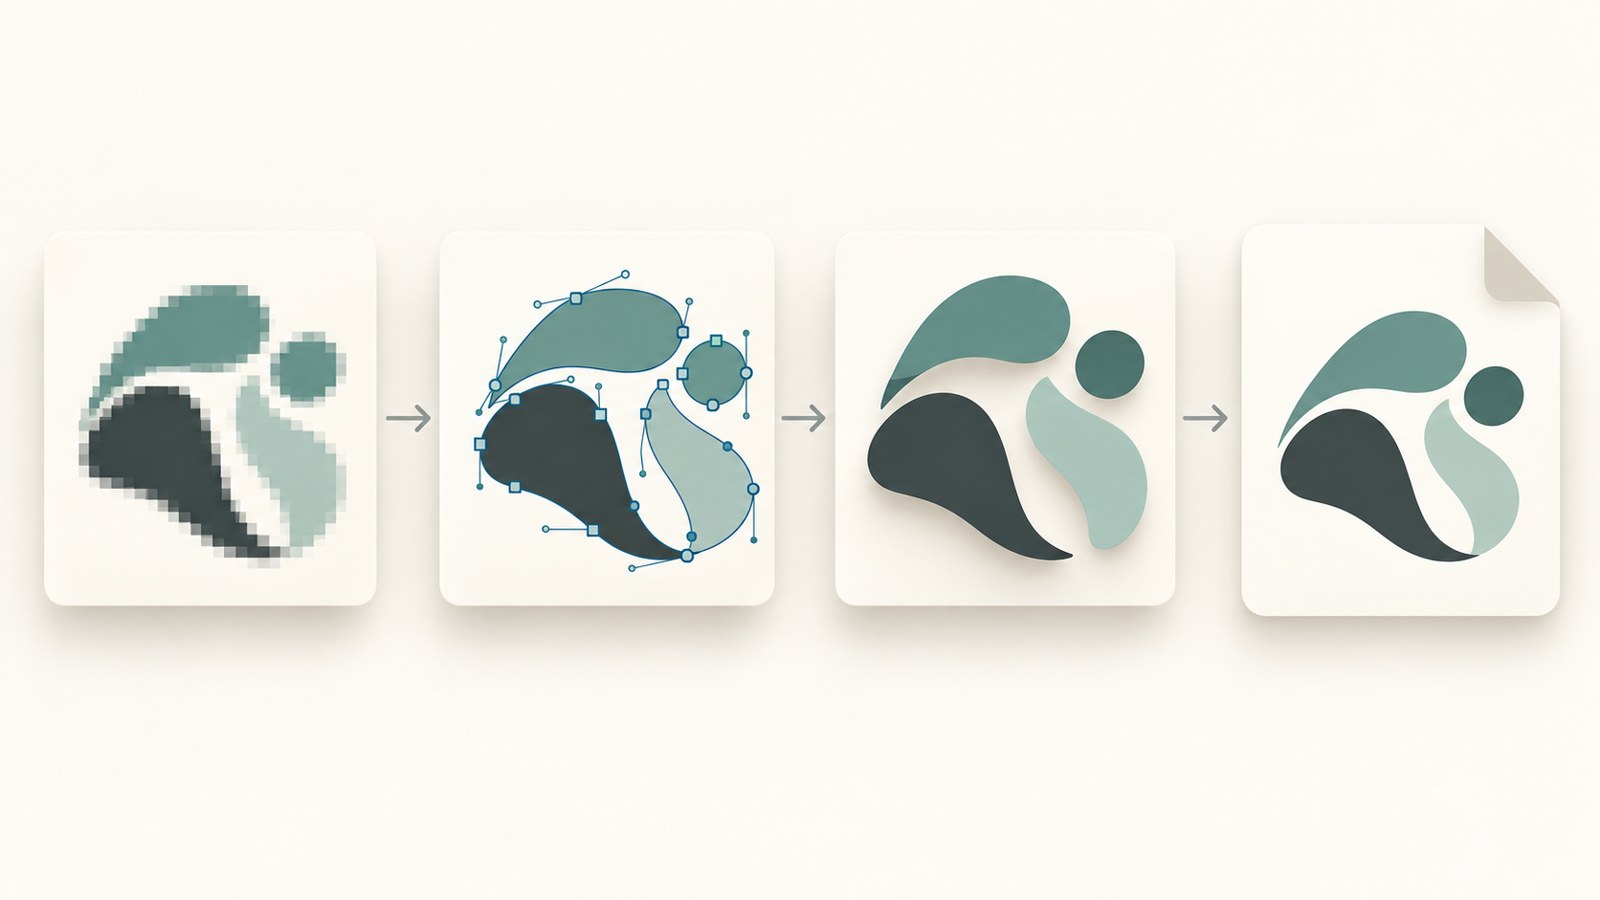
- Image Trace works well with logos and icons that have clear edges.
- Expand the trace to turn it into editable vector paths.
- Check the result carefully when the image has a busy background or low resolution.
1. AI file conversion is more than changing the extension
Changing a JPG or PNG filename to end in .ai does not turn the image into vector artwork. Illustrator needs to rebuild the image’s lines and shapes as vector paths.
Adobe Illustrator’s Image Trace follows the shapes in an imported image to create vectors. After tracing, use Expand to convert the result into editable lines and shapes.
Check both the artwork and its background before saving. The automatic trace can vary depending on the image’s edges and quality.
| Image type | Suitability for Image Trace | What to check first |
|---|---|---|
| Logos and icons | Relatively suitable | Check whether the edges are clear |
| Complex photos | The result may not be clean | Check the background and image quality |
2. Check the source image first
Logos, characters, icons, black-and-white designs, and lettering often work well with automatic tracing because their edges are relatively clear. When lines and color areas are distinct, the traced result is easier to inspect.
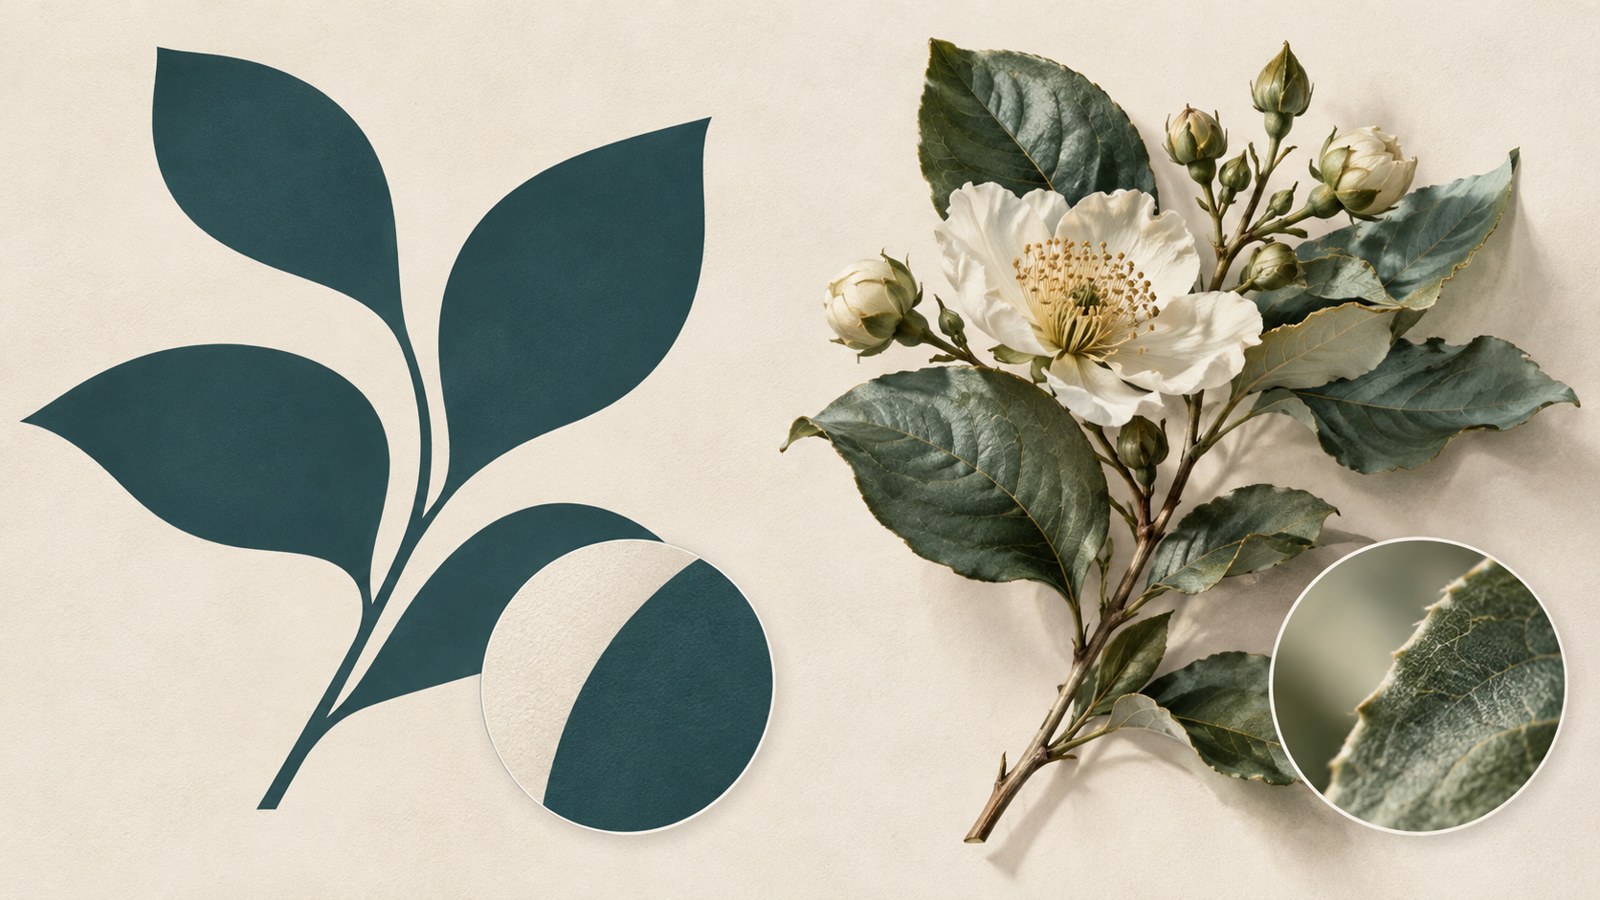
A photo with a busy background or low resolution may not trace into the shape you want. Zoom in on the result and clean up any areas that need attention.
If you are preparing artwork for a print shop, check for leftover background or unwanted areas before saving. Automatic tracing does not guarantee a clean result for complex images.
3. Import a JPG or PNG into Illustrator
Create a new artboard in Adobe Illustrator, then import the image you want to convert. You can drag the file onto the canvas or use the import command in the File menu.
The location and name of the Image Trace controls can vary by Illustrator version. With the image selected, check the options bar at the top or the Properties panel.
- Create a new artboard in Adobe Illustrator.
- Drag the JPG or PNG onto the canvas.
- Alternatively, choose Import from the File menu and select the image.
- Use the Selection tool to confirm the image is selected.
4. Choose Image Trace options
Run Image Trace on the selected image. Menu names and option layouts vary by version, so check the choices shown in your workspace.
For a black-and-white logo or design, try the Black and White Logo option. For a colored character or icon, the available options include 3 Colors, 6 Colors, and 16 Colors.
There is also a High Fidelity Photo option, but a complex background or low-resolution image may still produce a rough result. Inspect the traced lines and color areas, then clean up anything that needs it.
- Select the image and run Image Trace.
- For a black-and-white design, check the Black and White Logo option.
- For colored artwork, check the 3 Colors, 6 Colors, and 16 Colors options.
- Inspect the traced lines and color areas.
5. Expand the trace and remove the background
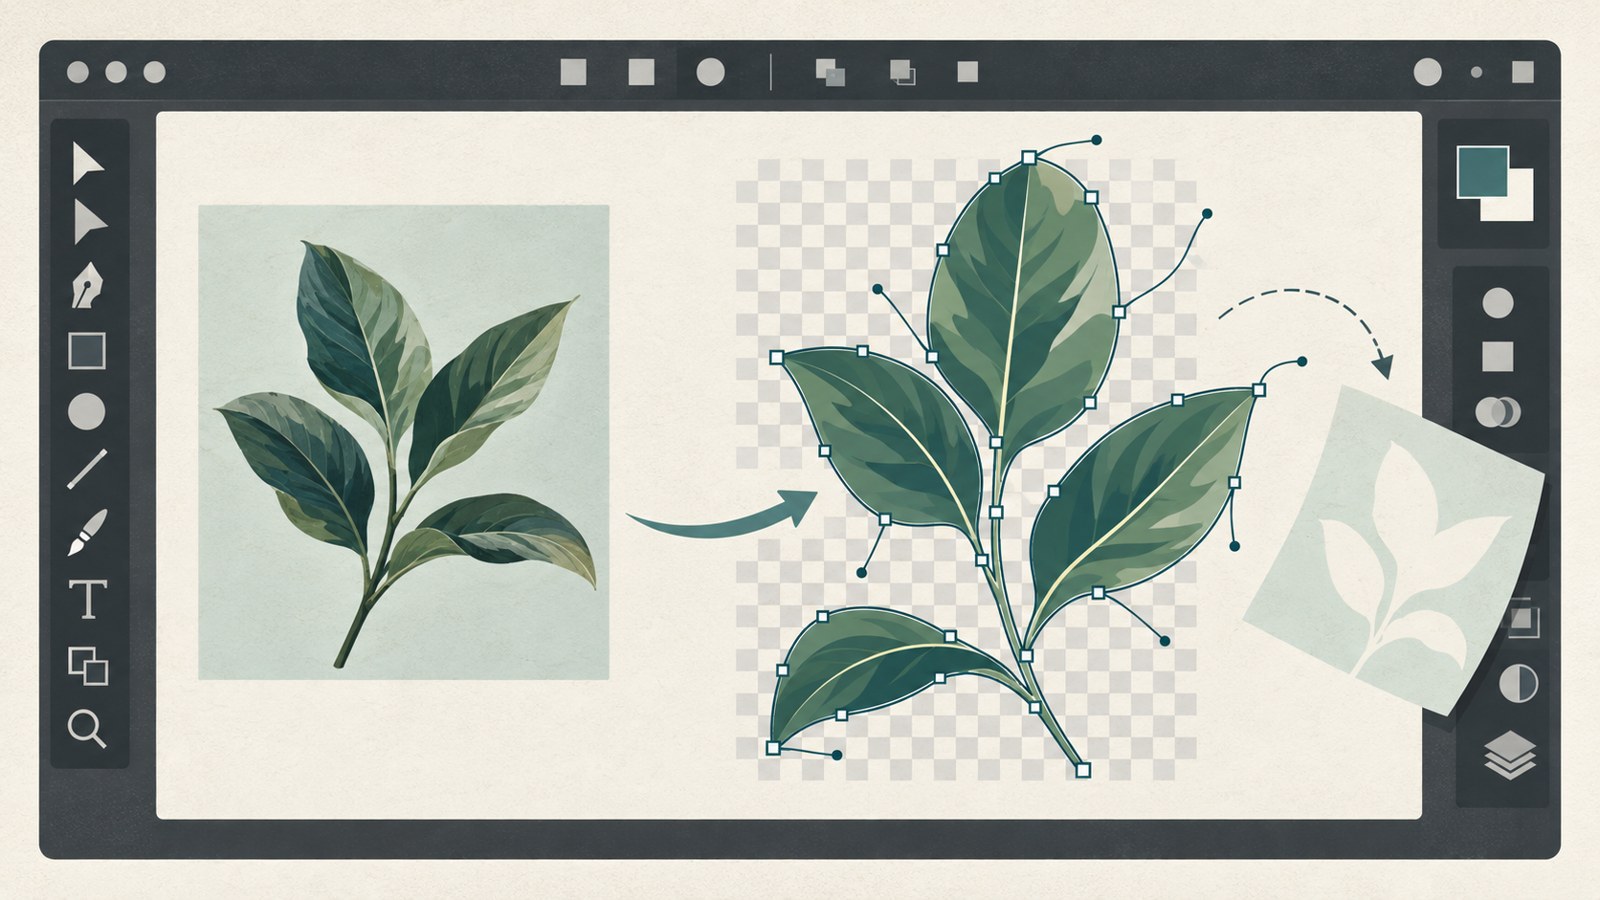
When Image Trace is finished, click Expand to turn the lines and shapes into actual vector paths. Before you expand, the trace result has not yet been converted into editable paths.
To work with individual elements, right-click and choose Ungroup. Select a white background or other unwanted areas and press Delete to remove them.
Check what is selected before deleting anything. If you select artwork you want to keep, the result will change. Make sure the necessary elements remain.
- Click Expand after Image Trace finishes.
- Right-click and choose Ungroup.
- Select and delete the white background or other unwanted areas.
- Check that the artwork you want to keep is still there.
6. Save as an AI file and check it again
After cleaning up the artwork and background, choose Save As from the File menu. Set the file format to Adobe Illustrator (*.AI).
Reopen the saved file and check that the artwork you need is still there. This saves the Image Trace result from a JPG or PNG as an AI file.
If the result looks rough because the background is complex or the image quality is low, automatic conversion may not be enough. Try a source image with clearer edges or clean up the lines and shapes by hand.
- Choose Save As from the File menu.
- Set the file format to Adobe Illustrator (*.AI).
- Reopen the saved AI file and inspect the result.
Before converting an image to an AI file, check its edges and resolution. After tracing and expanding, clean up the background and reopen the saved file to review it.
FAQ
Why do I need to click Expand?
Expand turns the Image Trace result into actual vector paths.
Which images work well with automatic tracing?
Images with relatively clear edges, such as logos, characters, icons, black-and-white designs, and lettering, are usually a good fit.
Will a complex photo convert cleanly to an AI file?
A photo with a busy background or very low resolution may not produce a clean result with automatic conversion.
댓글
댓글 쓰기