
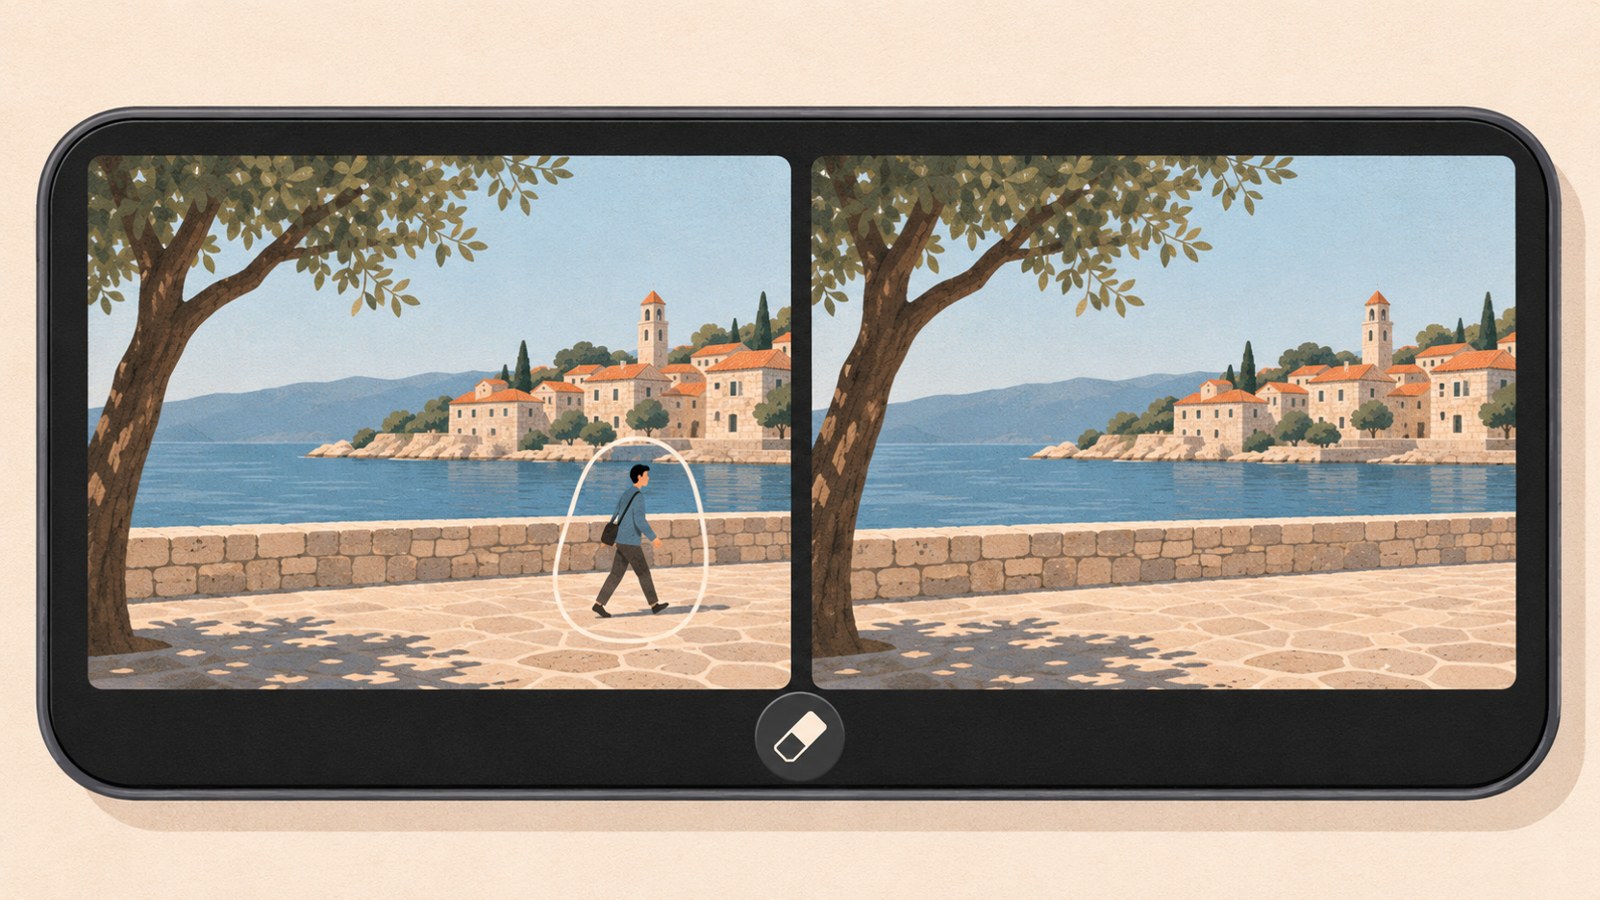
- Tap the person or object you want to remove, or trace around it.
- If the option is missing, check Tools and the Galaxy AI icon.
- Choose Save as copy to keep the original photo.
What Galaxy AI Eraser can do
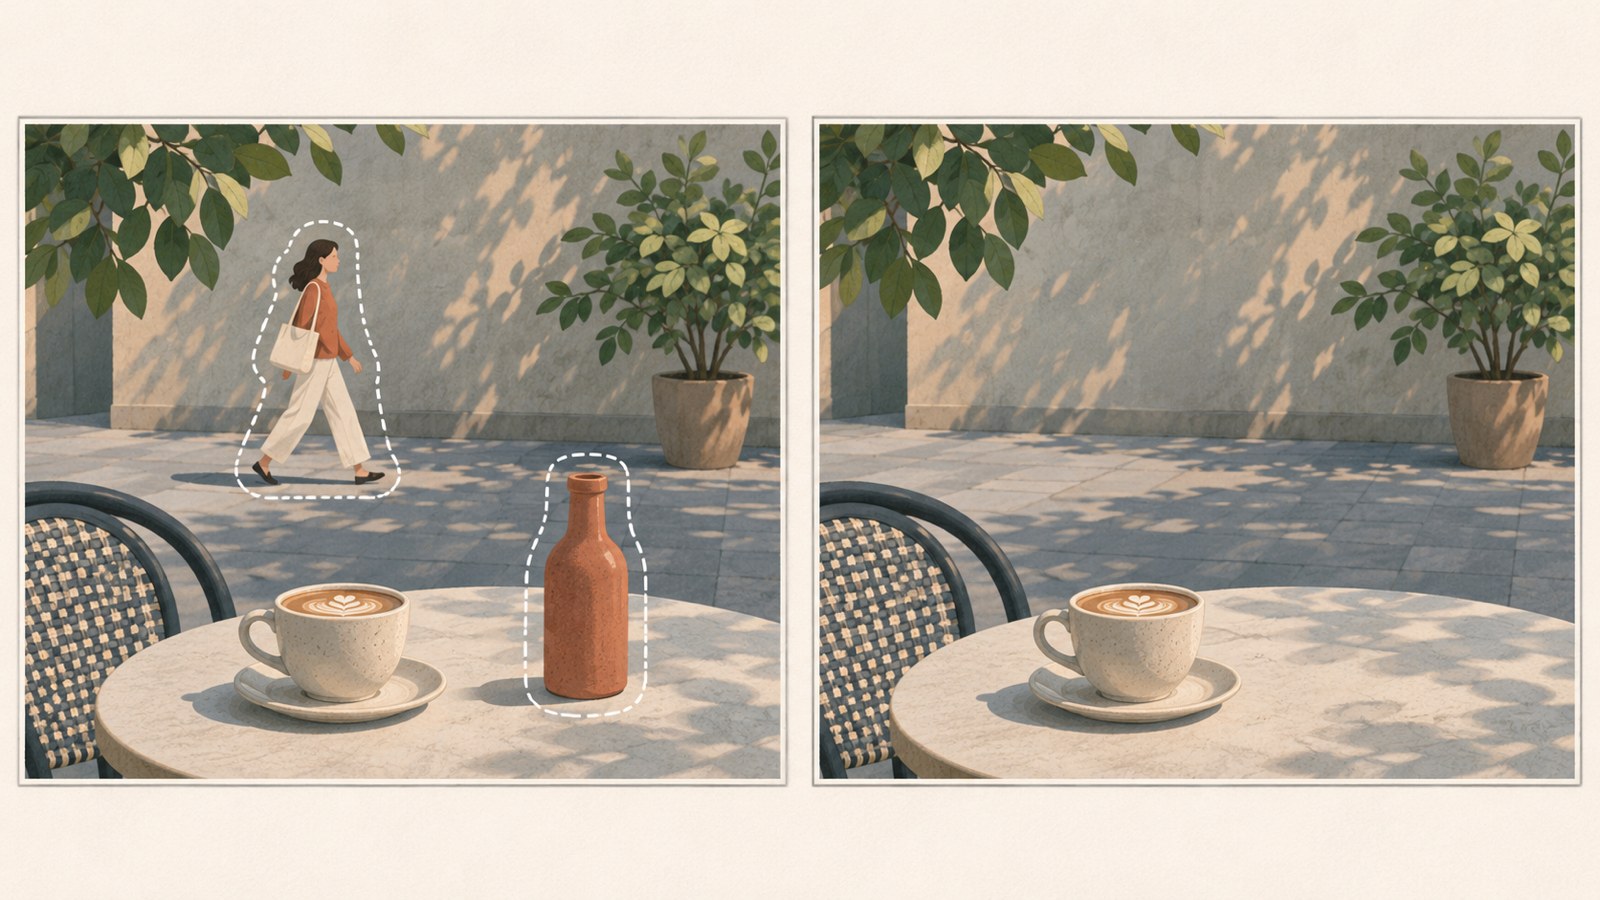
If a passerby appears in a travel photo or a small item on a table catches your eye, you can select it and remove it in Gallery. You can start editing there without installing a separate photo editor.
Removing objects and cleaning up shadows or reflections use separate menu options. First identify whether you want to remove a person, an object, a shadow, or a reflection. That makes it easier to find the right tool.
| What you want to remove | Menu option | What to check |
|---|---|---|
| Person or object | AI Eraser | Tap the subject or draw around it. |
| Shadow cast by an object | Erase shadows | After removing the object, check whether its shadow remains. |
When the option is missing from the editing screen
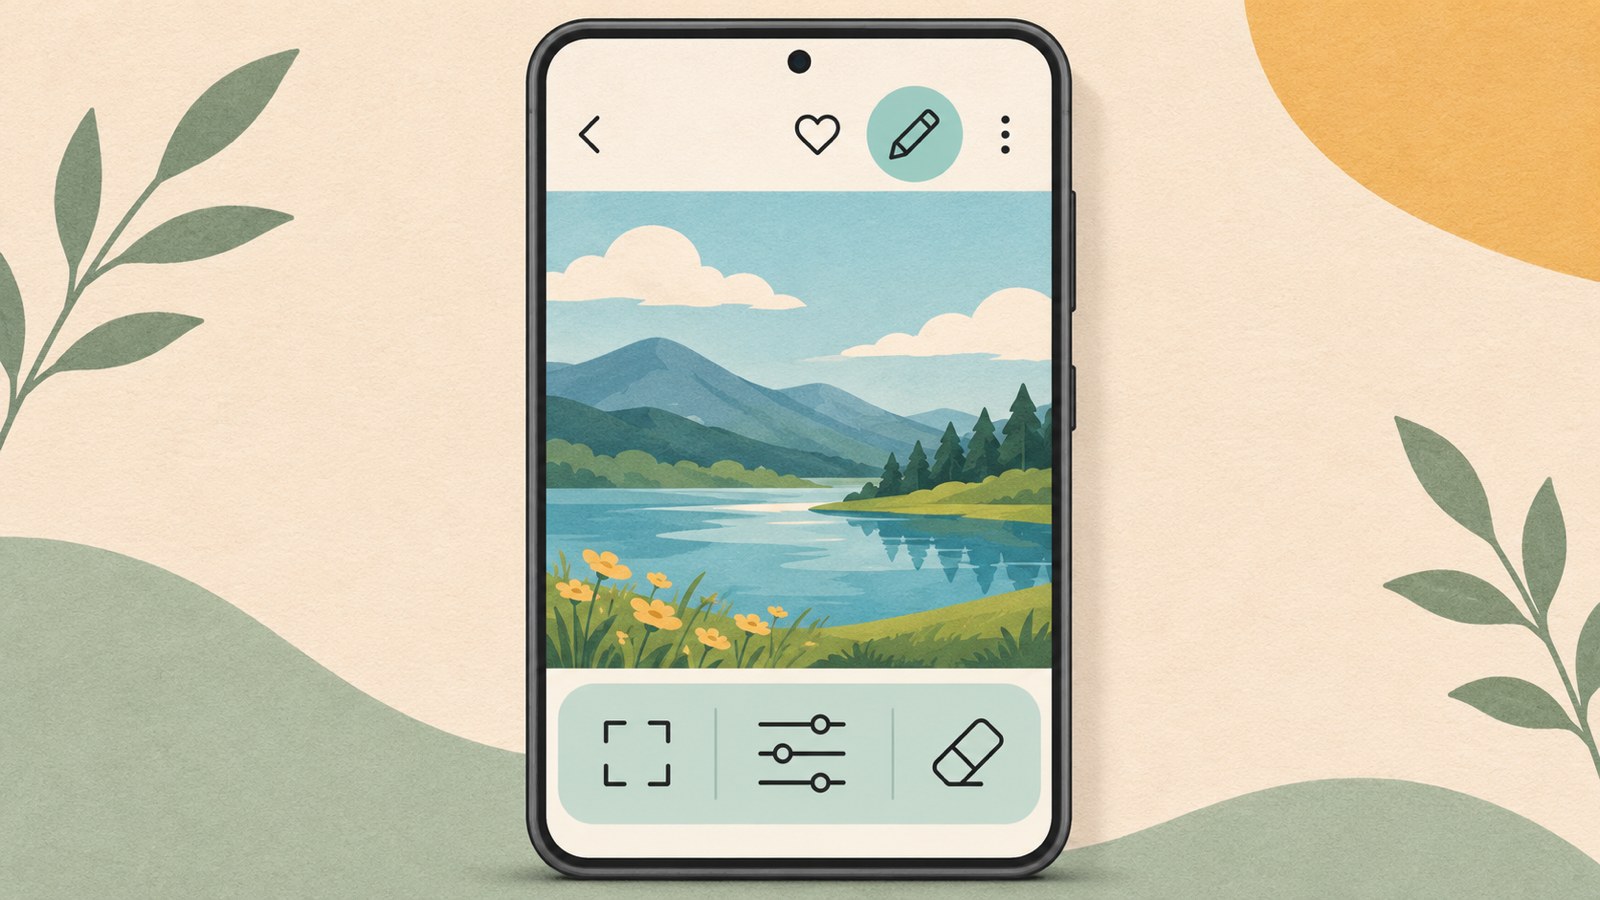
Open a photo in Gallery, enter the editing screen, and check the Tools menu. The menu location can vary by One UI version. If you do not see AI Eraser under Tools, look for the Galaxy AI icon as well.
Try these steps. The menus shown can differ by Galaxy model and software version, so not finding the option in one place does not necessarily mean the feature is unavailable.
- Open the photo you want to edit in Gallery.
- Tap the pencil-shaped edit icon at the bottom of the screen.
- Look for AI Eraser in the Tools menu.
- If it is not there, check the Galaxy AI icon.
- Select what you want to remove, then tap Erase.
Selecting a person or object
Check the selection once more if the photo has several people or part of the subject is hidden. If you remove something that covers part of a face, such as sunglasses, the revealed area may look different from the original.
- Tap the person or object you want to remove, or trace around it.
- Check that the selection includes the whole area you want to erase.
- If the selection is wrong, undo it and select the area again.
- When the selection looks right, tap Erase.
If the result looks odd or part of the object remains
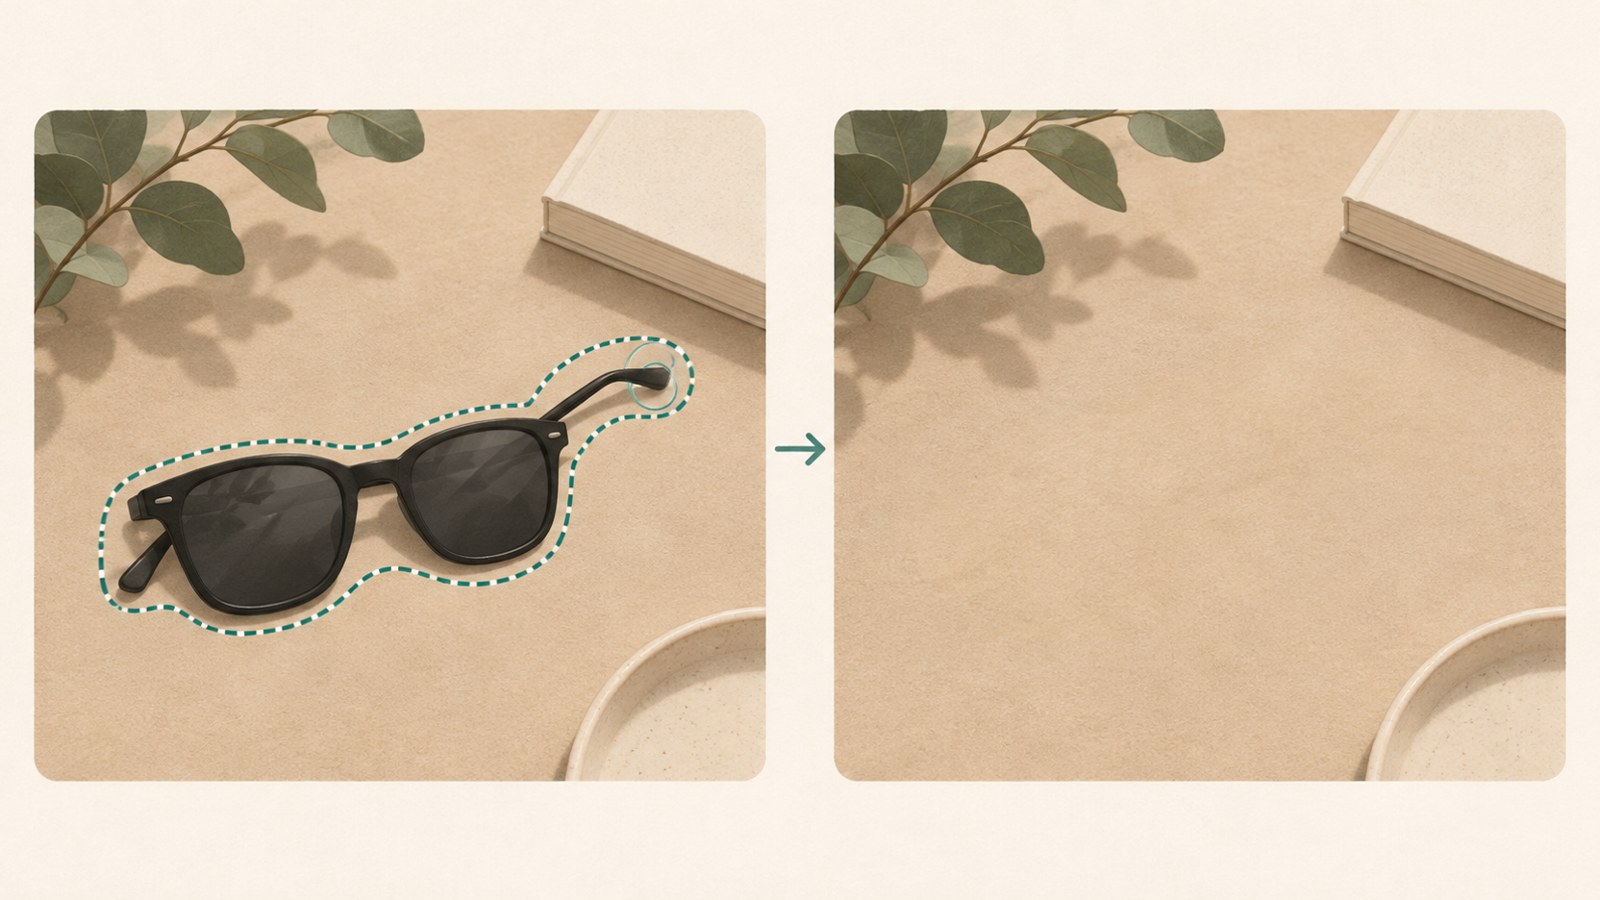
If you missed part of an object, add it to the selection by tracing around the missing area, then erase again. A shadow may also be cleaned up along with an object, depending on the result, but this does not happen the same way every time.
On photos with busy backgrounds or overlapping objects, the erased area may look unnatural. Check the result enlarged, especially when the edit involves a face or object that was completely hidden. The reconstructed details may differ from what was originally there.
- If you see a missed area, add it to the selection by tracing around it.
- Review the selection again, then tap Erase.
- If the result looks odd, undo it and adjust the selection.
- If a shadow remains, check the separate Erase shadows option.
Check shadows and reflections separately
After removing a person or object, check the surrounding area for shadows. Erase shadows is a separate option, so you can use it to clean up a shadow left behind.
Reflections of light in windows or display cases are handled by the Erase reflections option. Results can vary by photo. Enlarge the edited area to check that the surrounding image still looks right, and undo the change if needed.
- After erasing the subject, look for any remaining shadow or reflection.
- Choose Erase shadows for a shadow or Erase reflections for a reflection.
- Enlarge the result to review it, and undo the edit if needed.
Save an edited copy and keep the original
Check the save option before you finish. Choose Save as copy to keep the original unchanged and store the edited photo as a separate file. For an important photo, this lets you review the result while keeping the original.
While editing, use Back or Undo to return to an earlier step. If you saved over the original, you can use Revert to original in the editing screen to restore the photo as it was when taken. A copy saved as a separate file cannot be reverted to the original this way.
- Review the edited photo.
- To keep the original, choose Save as copy.
- If you saved over the original, tap Revert to original in the editing screen when you want to restore it.
FAQ
Where should I look if AI Eraser is missing from the editing screen?
Check the Tools menu first. If it is not there, tap the Galaxy AI icon. Menu locations can differ by model and One UI version, so also check for a software update in Settings.
Can I edit the photo again if the erased area looks odd?
While editing, use Undo to return to an earlier step and select the area again. Results may differ from the original when the background is busy or the edit needs to reconstruct something that was hidden.
How do I keep the original photo?
Choose Save as copy to keep the original and save the edited version separately. A copy saved as a separate file cannot be restored with Revert to original.
댓글
댓글 쓰기